Loading course content...
Table of Contents
How to Manipulate the DOM Tree in JavaScript
Code Playground is only enabled on larger screen sizes.
Previously we introduced the concept of the DOM tree, and discussed how to select elements according to their ids, classes, names and element tags.
And now, it is time to talk about how to manipulate the selected elements.
Changing the element content
There are two properties available for altering the content of an element, innerHTML for all types of content, and textContent for textual content only.
innerHTML
The innerHTML property accesses the HTML content of an element. For example,
html
<body>
  <div id="parent">
    <p id="first">Lorem ipsum dolor sit. . .</p>

    <p id="second">
      Quidem molestiae distinctio quae, <a href="">necessitatibus</a> deserunt
      dignissimos. . .
    </p>
  </div>

  <script src="./index.js"></script>
</body>
javascript
let first = document.getElementById("first");
console.log(first.innerHTML);

let second = document.getElementById("second");
console.log(second.innerHTML);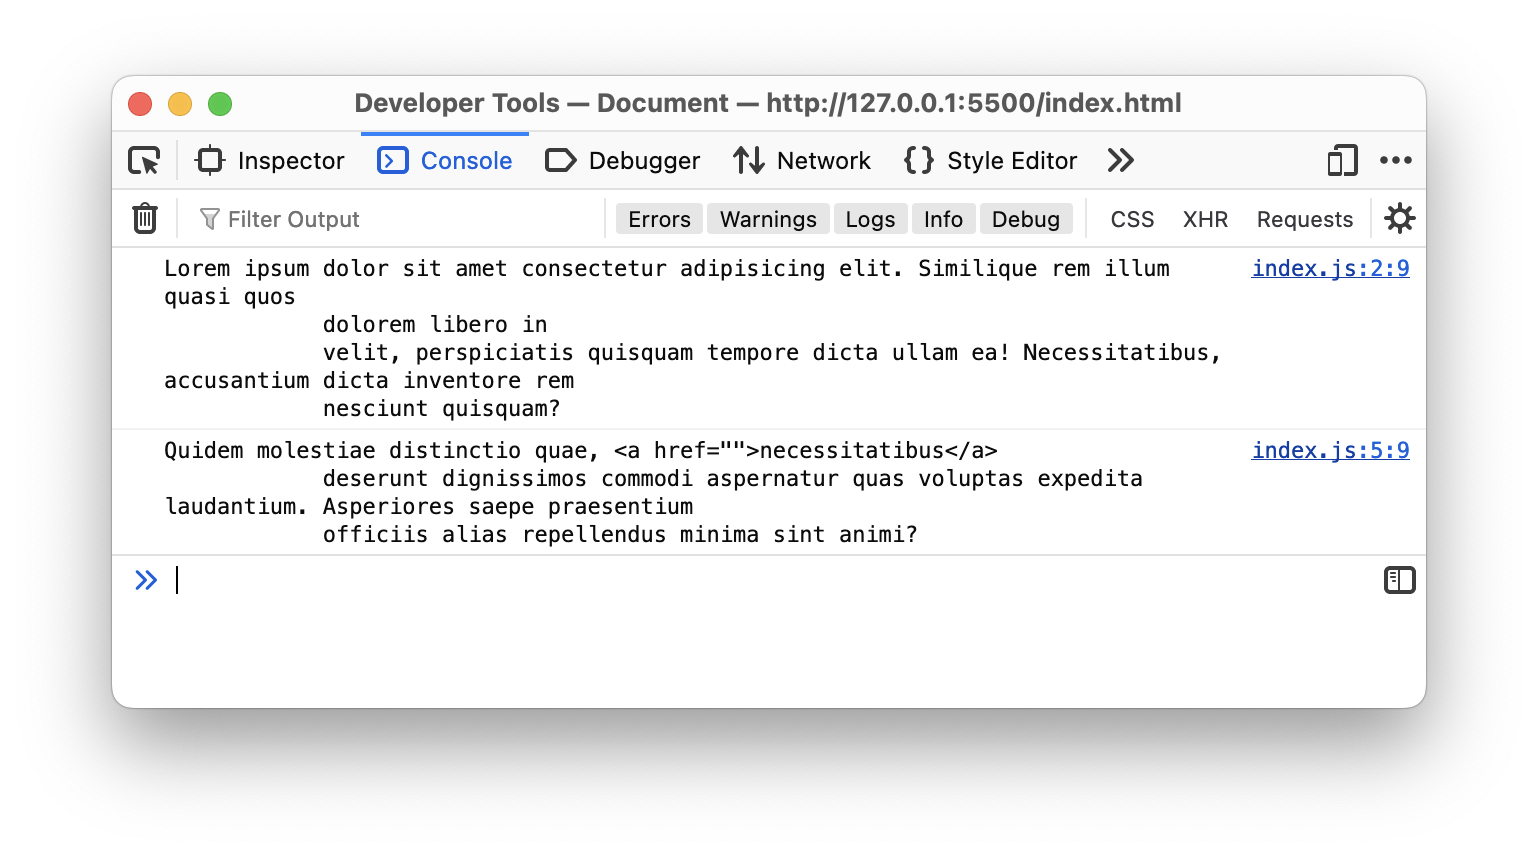
Notice that the result will be printed as a string. Even though #second has a child node (<a>), it is not treated as a node in this case.
You can use the innerHTML property to assign new content for the selected element:
javascript
let first = document.getElementById("first");
first.innerHTML = "This content is changed by JavaScript.";
You can assign HTML content as well:
javascript
let second = document.getElementById("second");
second.innerHTML =
  "This content is changed by JavaScript. <a href=''>This link is changed by JavaScript as well.</a>";
However, this method of creating HTML nodes is generally not recommended, because it is likely that your code editor will not provide syntax highlighting, and it might lead to mistakes.
Later, we are going to introduce a more JavaScript way to create new HTML elements.
textContent
If you are only dealing with textual content, you can opt to use the textContent property instead.
javascript
let first = document.getElementById("first");
first.textContent = "This content is changed by JavaScript.";
Changing the element attribute
You are also allowed to programmatically change the element's attributes using JavaScript. For example, let's say you have an image element:
html
<img id="image" src="image.png" />You can change the image source by setting the src attribute like this:
javascript
let image = document.getElementById("image");

image.src = "new_image.png";
You may also add new attributes to the selected element using the setAttribute() method.
javascript
let image = document.getElementById("image");

image.src = "new_image.png";
image.setAttribute("alt", "This is an image.");
Changing the element style
There are two ways to change the styles of an element in frontend development. You can either change the styles directly, or change the class.
The styles of an element can be altered directly by specifying the style name. For example,
html
<body>
  <div id="parent">
    <p id="first">Lorem ipsum dolor. . .</p>

    <p id="second">. . .</p>

    <p id="third">. . .</p>
  </div>

  <script src="./index.js"></script>
</body>
javascript
let first = document.getElementById("first");

first.style.color = "blue";
Changing the class attribute is also a commonly used technique, but the reason that we did not discuss it in the previous section is that, it works differently compared to other attributes.
Since class is a special keyword in JavaScript, and to avoid conflicts, you need to use either className or classList.
The className property is a setter, which means you can set the class by assigning a string directly.
html
<body>
  <div id="parent">
    <p id="first" class="blue underline">Lorem ipsum dolor. . .</p>

    <p id="second" class="blue bold">. . .</p>

    <p id="third" class="red underline">. . .</p>
  </div>

  <script src="./index.js"></script>
</body>
css
.blue {
  color: blue;
}

.red {
  color: red;
}

.underline {
  text-decoration: underline;
}

.bold {
  font-weight: 700;
}
javascript
let first = document.getElementById("first");

first.className = "red underline bold";
On the other hand, classList is read-only. You cannot edit it directly and must use the add() or remove() methods instead.
javascript
let first = document.getElementById("first");

first.classList.remove("blue");
first.classList.add("red");
first.classList.add("bold");<!doctype html> <html lang="en"> <head> <meta charset="UTF-8" /> <meta name="viewport" content="width=device-width, initial-scale=1.0" /> <title>DOM Traversal Demo</title> </head> <body> <div id="parent"> <p id="first">First child</p> <p id="middle">Middle child</p> <p id="last">Last child</p> </div> <script src="script.js"></script> </body> </html>