Starting from this lesson, we are going to move on to the more practical uses of JavaScript. To begin with, let's talk about how the language works in the frontend part of a web application.
Frontend is the part of the web application that is displayed to the user, meaning your JavaScript code will be embedded into the webpage, and it will run on top of the browser environment, instead of Node.js.
There are two ways to embed JavaScript code. You can either use in-page JavaScript like this:
1<!doctype html>
2<html lang="en">
3 <head>
4 <meta charset="UTF-8" />
5 <meta name="viewport" content="width=device-width, initial-scale=1.0" />
6 <title>Document</title>
7 </head>
8
9 <body>
10 <p>Lorem ipsum dolor. . .</p>
11 <p>. . .</p>
12
13 <script>
14 // Your JavaScript code here
15 </script>
16 </body>
17</html>
Or put your JavaScript code in a separate file:
1.
2├── index.html
3└── index.js
And then import it into your HTML document.
1<!doctype html>
2<html lang="en">
3 <head>
4 <meta charset="UTF-8" />
5 <meta name="viewport" content="width=device-width, initial-scale=1.0" />
6 <title>Document</title>
7 </head>
8
9 <body>
10 <button onclick="example()">Click Me</button>
11
12 <script src="index.js"></script>
13 </body>
14</html>
In most cases, the second method is recommended. As your project grows, putting everything in a single file will make future maintenance a nightmare.
The JavaScript file can be imported similar to how we can load images, except you must use the <script>
tag.
It is best to load JavaScript right before the closing <body>
tag, so that it does not block the rendering of the rest of the page.
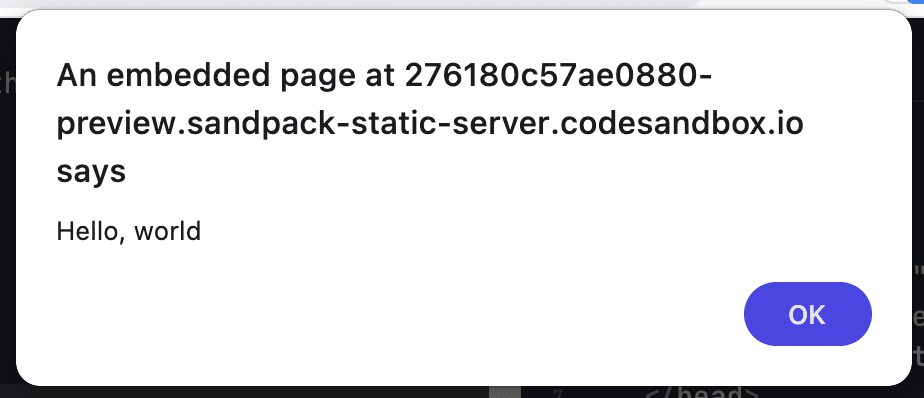
As an example, put the following code into your .js
file.
1function example() {
2 alert("JavaScript file imported successfully.");
3}
In this case, the index.js
contains an example()
function, which executes alert()
. alert()
is a built-in function in the browser environment (as opposed to the Node.js environment we've been working in), which creates a pop up alert box.
Inside the index.html
file, notice that we have a <button>
element with an onclick
attribute. This attribute is an event handler for the "click" action, meaning when the button is clicked, the function example()
will be executed, and the alert box should pop up.
What is the DOM tree
When the browser renders a web page, it will parse the HTML document and create a DOM tree. DOM stands for Document Object Model. For example, given the following HTML document:
1<!doctype html>
2<html lang="en">
3 <head>
4 <meta charset="UTF-8" />
5 <meta name="viewport" content="width=device-width, initial-scale=1.0" />
6 <title>Document</title>
7 </head>
8
9 <body>
10 <p>
11 Lorem ipsum dolor, sit amet consectetur adipisicing elit. Repellendus
12 veniam, vitae aliquid amet aut dolorem dolor blanditiis explicabo
13 perspiciatis culpa rerum deleniti, fugit minima reprehenderit magni odit
14 unde aperiam. Cumque.
15 </p>
16 <p>
17 Ipsum enim molestiae sequi explicabo, soluta laudantium consequatur ipsa
18 aperiam numquam. Quas eius officiis ducimus alias aut labore, excepturi
19 saepe expedita adipisci.
20 </p>
21 </body>
22</html>
The browser will create a tree structure which looks like this:
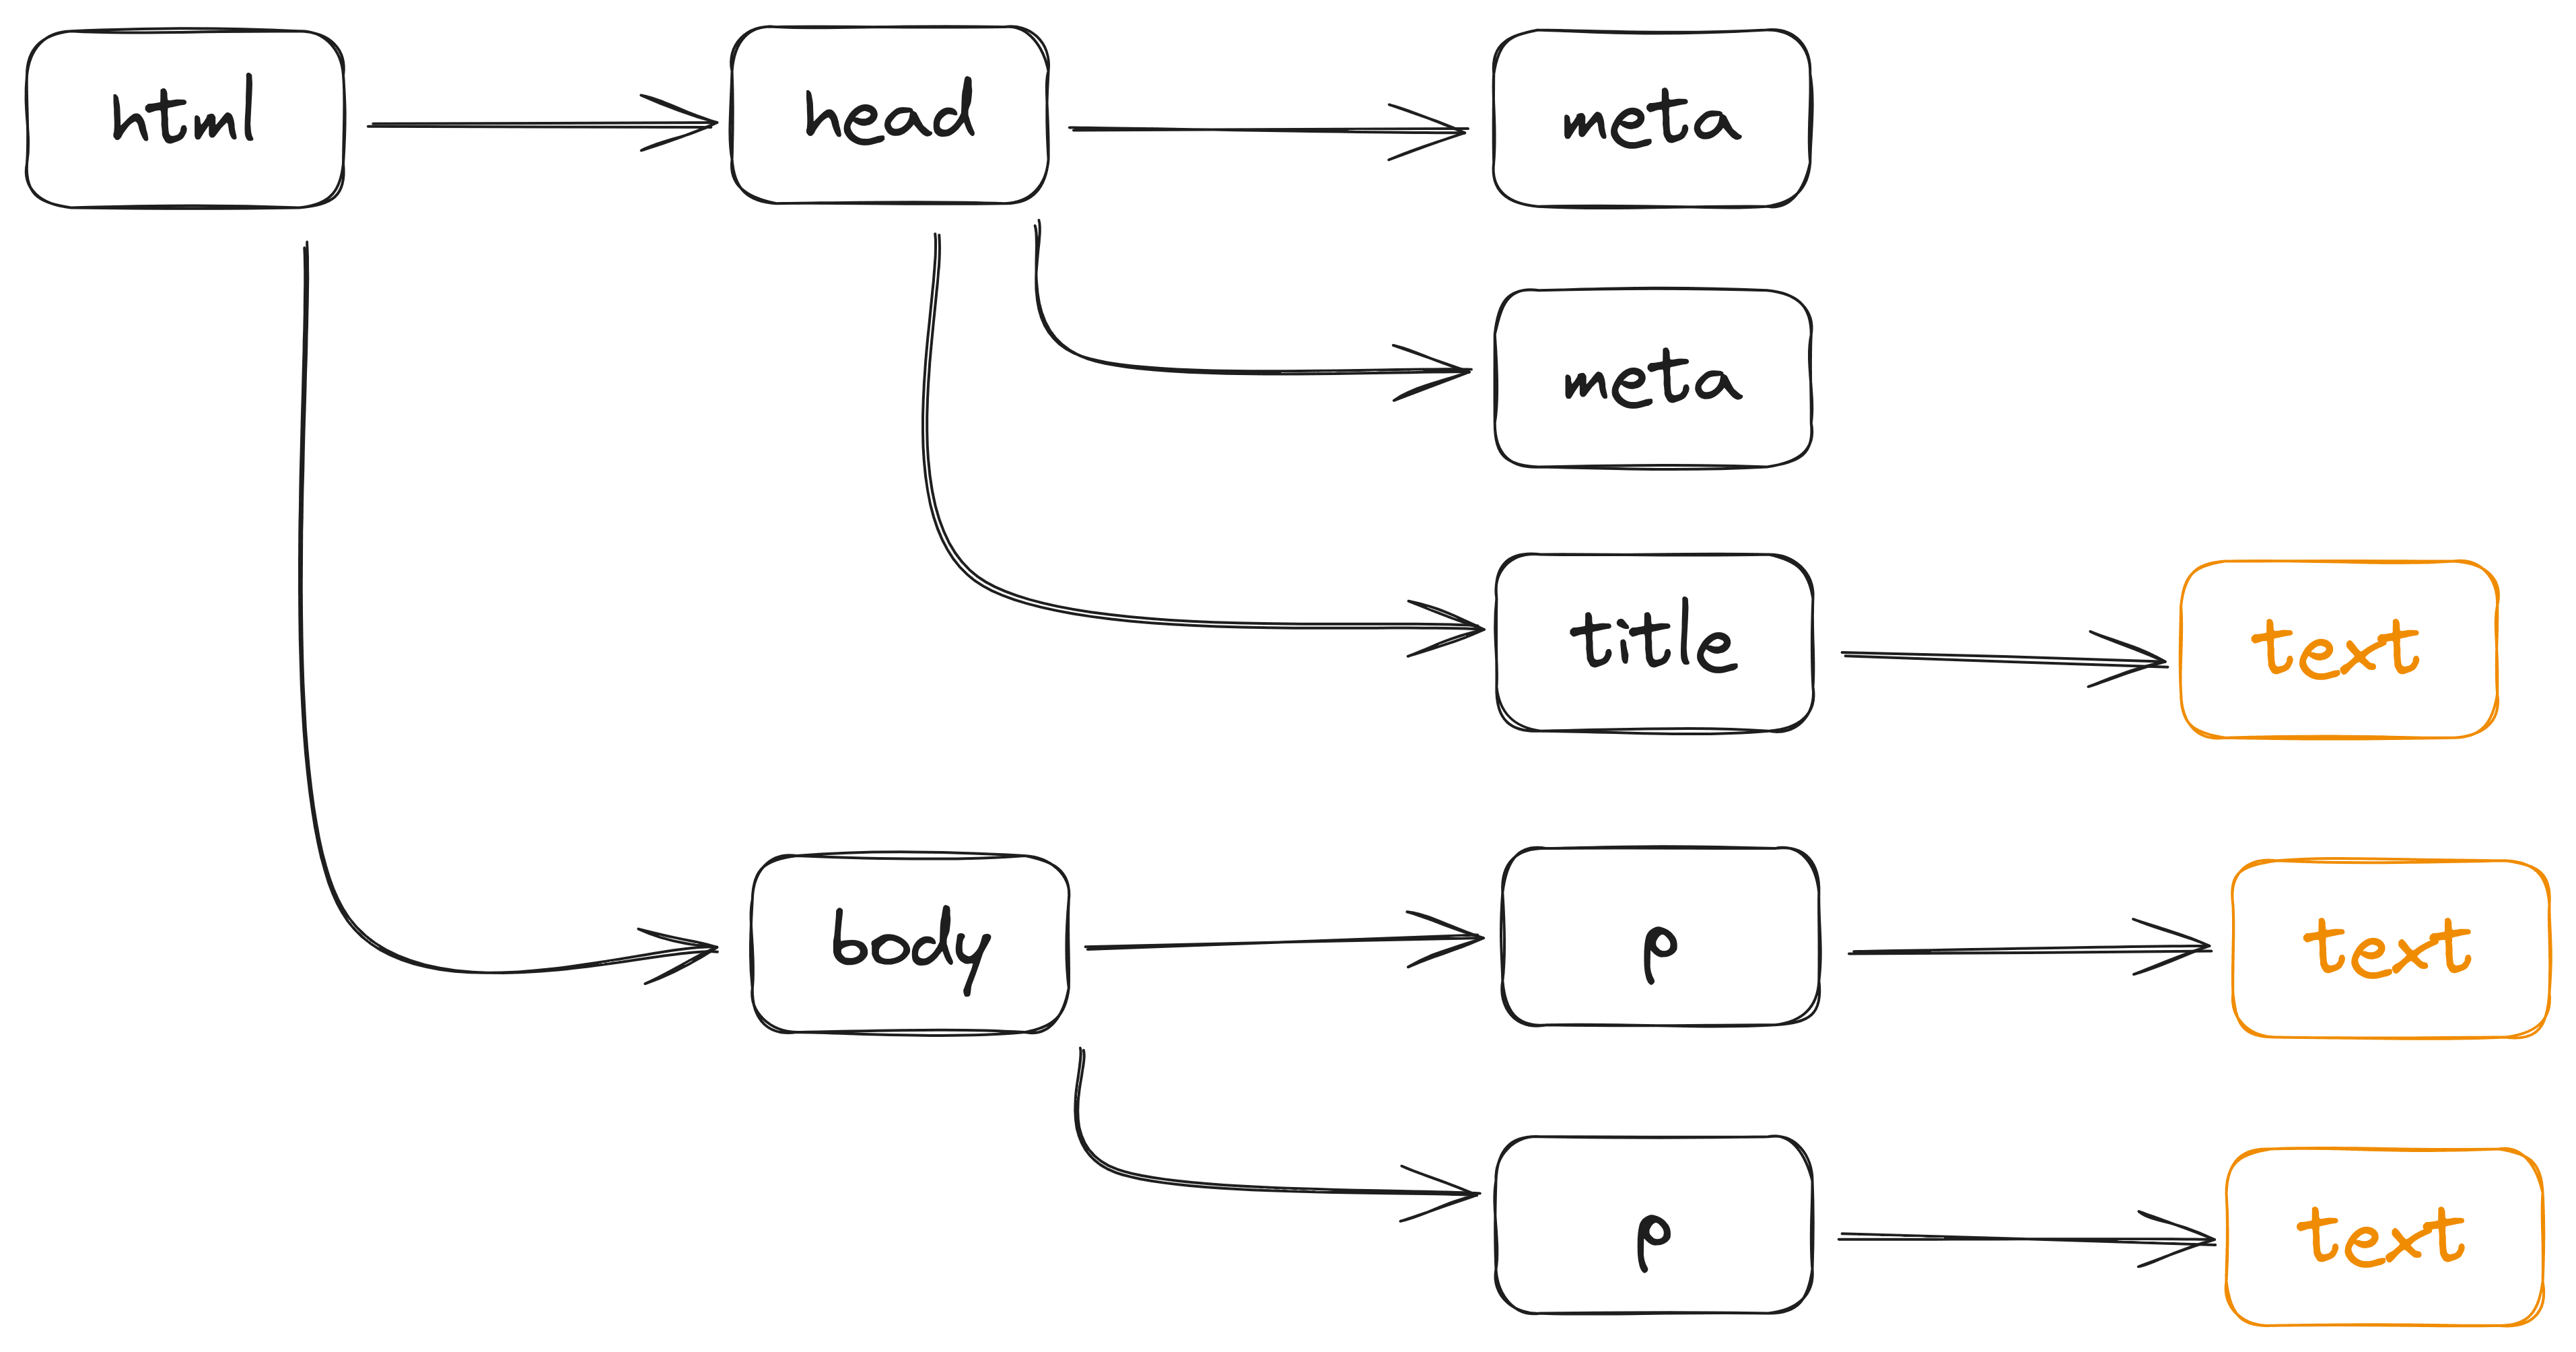
Each node is represented by an object, allowing you to access its content, attributes, styles, etc.
Notice that the textual content is considered a separate node from its containing element. Every node object has a nodeType
property that allows you to check the type of that node.
For example, it can be an element node (represented by the number 1), a text node (represented by the number 3), or a comment node (represented by the number 8).
1console.log(document.body.nodeType);
11
These nodes are also interconnected, which means you can move up and down on the DOM tree, and access any node you want.
The node objects can be accessed through the document
variable, which is a global variable in the browser environment. For example, document.documentElement
refers to the <html>
element in the HTML page.
1console.log(document.documentElement);
Hint: We are working in the browser environment now, not Node.js, so check the logs in the browser's developer tools.
Selecting elements
Under the document
object, there are several methods for selecting elements based on their name
, class
, id
, or the element tag.
getElementById()
The getElementById()
allows you to select an element based on its id
. For example,
1<body>
2 <p id="p1">Lorem ipsum dolor. . .</p>
3 <p id="p2">. . .</p>
4
5 <script src="index.js"></script>
6</body>
1let p1 = document.getElementById("p1");
2
3console.log(p1);
After selecting the element, you can then access its content using the innerHTML
property.
1console.log(p1.innerHTML);
We'll talk more about how to manipulate HTML elements in the next lesson. For now, let's focus on selecting elements.
getElementsByClassName()
You can also select elements based on their class
. For example,
1<body>
2 <p class="blue">Lorem ipsum dolor. . .</p>
3 <p class="blue">. . .</p>
4
5 <script src="index.js"></script>
6</body>
1let blue = document.getElementsByClassName("blue");
2
3console.log(blue);
And because there could be multiple elements under one class, this method will return a collection of node objects. This collection has an array-like structure, which means you can access each individual element using a for of
loop:
1let blue = document.getElementsByClassName("blue");
2
3for (let e of blue) {
4 console.log(e);
5}
getElementsByTagName()
andgetElementsByName()
These two methods are similar to getElementsByClassName()
, except getElementsByTagName()
collects all elements with the specified tag, and getElementsByName()
collects all elements with the specified name
.
getElementsByTagName()
1<body>
2 <p>Lorem ipsum dolor. . .</p>
3 <p>. . .</p>
4
5 <script src="index.js"></script>
6</body>
1let p = document.getElementsByTagName("p");
2
3for (let e of p) {
4 console.log(e);
5}
getElementsByName()
1<body>
2 <form action="/">
3 <label for="name">Name:</label>
4 <input type="text" name="name" id="name" />
5
6 <label for="email">Email:</label>
7 <input type="email" name="email" id="email" />
8
9 <input type="submit" value="Submit" />
10 </form>
11
12 <script src="index.js"></script>
13</body>
1let emailInput = document.getElementsByName("email");
2
3for (let e of emailInput) {
4 console.log(e);
5}
Both of them return a collection of HTML node objects, which you can iterate over using the for of
loop.
querySelector()
andquerySelectorAll()
Lastly, you can also select elements using query selectors, which we've discussed in the CSS selector lesson.
The querySelector()
method returns the first element in the DOM tree that matches the given query selector.
1<body>
2 <p class="underlined">Lorem ipsum dolor. . .</p>
3 <p class="underlined">. . .</p>
4
5 <script src="index.js"></script>
6</body>
1let underlined = document.querySelector(".underlined");
2
3console.log(underlined);
And the querySelectorAll()
method selects all the elements that the selector matches. Again, it returns a collection of elements that you can iterate over using a loop.
1let underlined = document.querySelectorAll(".underlined");
2
3for (let e of underlined) {
4 console.log(e);
5}
There is one small difference between querySelectorAll()
and getElementBy*()
methods, when it comes to iterating over the returned results.
The getElementBy*()
methods return an HTMLCollection
, meaning you can only iterate over them using loops. But querySelectorAll()
returns a NodeList
, which supports the use of forEach()
. For example,
1let underlined = document.querySelectorAll(".underlined");
2
3underlined.forEach((e) => {
4 console.log(e);
5});
This should give you the same result as before.
Moving through the DOM tree
For every node object, there exist several properties that allow you to move to other nodes:
parentNode
andparentElement
childNodes
andchildren
firstChild
andfirstElementChild
lastChild
andlastElementChild
nextSibling
andnextElementSibling
previousSibling
andpreviousElementSibling
Their relations are shown in the diagram below.
Nodes vs. elements
We made a small mistake at the beginning of this lesson. Our DOM tree diagram was incomplete.
We only included the element nodes and the text nodes that contain information, but in fact, there are also text nodes representing newline characters (\n
) and spaces in between the elements. You can see them by executing the following code:
1console.log(document.body.childNodes);
The childNodes
property returns all child nodes of <body>
.
They were omitted for simplicity in our previous DOM tree diagram. But when moving through the DOM tree, you need to remember that they exist, or you might end up going to the wrong node.
In fact, there are 12 different types of nodes in a DOM tree, but in most cases, we only work with element nodes and the text nodes that contain information.
This can be very annoying when moving through the DOM tree. Why do we have to count the nodes that don't really show up in the browser? Luckily, there is an Element
interface that allows you to move through the tree while only counting the element nodes, as we will see later.
Getting the parent
Let us start with the parent. For example,
1<body>
2 <div id="parent">
3 <p id="child">Lorem ipsum dolor. . .</p>
4
5 <p>. . .</p>
6 </div>
7
8 <script src="index.js"></script>
9</body>
Starting from #child
, you can access the parent node using the property parentNode
.
1let child = document.getElementById("child");
2let parent = child.parentNode;
3
4console.log(child);
5console.log(parent);
This property is more general-purposed, as it works for all node types. If you want something specific to element nodes, you can go with parentElement
.
1let child = document.getElementById("child");
2let parent = child.parentElement;
3
4console.log(child);
5console.log(parent);
Getting the child
1<body>
2 <div id="parent">
3 <p>Lorem ipsum dolor. . .</p>
4
5 <p>. . .</p>
6 </div>
7
8 <script src="index.js"></script>
9</body>
To access the children of an element, use the property childNodes
.
1let parent = document.getElementById("parent");
2
3let children = parent.childNodes;
4
5console.log(children);
Individual nodes can be accessed using a for of
loop.
1let parent = document.getElementById("parent");
2
3let children = parent.childNodes;
4
5for (let e of children) {
6 console.log(e);
7}
Or by specifying an index number directly.
1let parent = document.getElementById("parent");
2
3let children = parent.childNodes;
4
5console.log(children[0]);
6console.log(children[1]);
7console.log(children[2]);
8console.log(children[3]);
9console.log(children[4]);
If you only wish to work with element nodes, use children
instead.
1let parent = document.getElementById("parent");
2
3let children = parent.children;
4
5console.log(children);
Similarly, individual element nodes are accessed with an index or a for of
loop.
Sometimes, you might only care about an element's first or last child nodes. For example, you could be trying to add a notification banner at the top of a webpage, and you need to locate the first child of the <body>
element. In this case, several shortcut properties are provided.
To access the first or last child node of an element, use firstChild
or lastChild
.
1<body>
2 <div id="parent">
3 <p id="first">Lorem ipsum dolor. . .</p>
4
5 <p id="second">. . .</p>
6
7 <p id="third">. . .</p>
8 </div>
9
10 <script src="index.js"></script>
11</body>
1let parent = document.getElementById("parent");
2
3console.log(parent.firstChild);
4console.log(parent.lastChild);
To access the first or last element child node, use firstElementChild
or lastElementChild
.
1let parent = document.getElementById("parent");
2
3console.log(parent.firstElementChild);
4console.log(parent.lastElementChild);
Getting the siblings
The sibling nodes are accessed through properties nextSibling
and previousSibling
.
1let middle = document.getElementById("second");
2
3console.log(middle.previousSibling);
4console.log(middle.nextSibling);
In most cases, you are going to get the line break nodes, which are not very useful. Instead, you can exclude them by accessing only the element nodes, using properties nextElementSibling
and previousElementSibling
.
1let middle = document.getElementById("second");
2
3console.log(middle.previousElementSibling);
4console.log(middle.nextElementSibling);