Loading course content...
The Next.js 15 Tutorial
So far, we have discussed Express.js, a lightweight JavaScript framework. It allows us to quickly create web applications with a flexible approach, making it a popular choice for full-stack development.
However, Express.js isn't without its limitations, especially when it comes to frontend development. To address this problem, we discussed React.js, a popular frontend JavaScript library designed for building dynamic and interactive user interfaces.
In the React Blog lesson, we explored how to create a fullstack application using React.js for the frontend, and Express.js for the backend. This combination provided the flexibility and simplicity of Express.js for server-side development, paired with React.js's powerful tools for building dynamic frontend interfaces.
But, there are still some problems.
First of all, we need to jump between two different apps. It might not seem like a huge problem at first, but as the application scales, things will get very complicated, especially when it comes to state management across the frontend and backend. It will become a huge headache.
Secondly, even though it is almost 2025, search engines still struggle with JavaScript heavy contents. Since React.js loads the entire pages on the client side, that will have a negative impact on the website's overall SEO.
A better solution would be render the page on the server side to deliver a full HTML document to the user, and then use React to dynamically load interactive components as needed, creating a balance between SEO performance and interactivity.
And don't forget the router. We have to use a separate package to handle frontend routing, which means we are managing two routing systems, one in the backend, and another one in the frontend. This can increase development complexity and introduce potential issues.
All of these problems can be solved if there is a solution that combines Express.js and React.js. We need a single framework that provides server-side rendering, unified routing system, and SEO and performance optimizations that would address these challenges.
This is where Next.js comes in. It combines both client-side and server-side rendering, along with automatic routing and built-in API routes, simplifying the development of full-stack applications.
Getting started with Next.js
To begin with, let's initialize a new Next.js project. Go to your work directory and run the following command:
bash
npx create-next-app@latestThis is a CLI tool created by the Next.js team to quickly create a new project.
After running the above command, you will be prompted with a few options:
text
✔ What is your project named? … <project_name>
✔ Would you like to use TypeScript? … No / Yes
✔ Would you like to use ESLint? … No / Yes
✔ Would you like to use Tailwind CSS? … No / Yes
✔ Would you like your code inside a `src/` directory? … No / Yes
✔ Would you like to use App Router? (recommended) … No / Yes
✔ Would you like to use Turbopack for next dev? … No / Yes
✔ Would you like to customize the import alias (@/* by default)? … No / Yes
We need to take a closer look at each of them.
- What is your project named?
This one is the most straightforward, simply type in your desired name for this project.
- Would you like to use TypeScript?
TypeScript is a superset of JavaScript that turns it into a strong type language, meaning TypeScript forces you to specify the data type for the variables, function arguments, and so on.
Since we haven't discussed TypeScript yet, if you don't know how to use it, please select No. We are going to use JavaScript in this course.
- Would you like to use Tailwind CSS?
Tailwind is a popular CSS framework. If you choose Yes, Next.js will set it up for you directly.
- Would you like your code inside a
src/directory?
Optionally, you can choose to put all your source code inside the src/ directory. This is highly recommended as it helps keeping the root directory clean.
- Would you like to use App Router? (recommended)
Currently, Next.js comes with two routing systems, the App router and the Page router. In this tutorial, we are going to use App router, as it is the latest upgrade and allows us to use the latest features and optimizations of Next.js.
- Would you like to use Turbopack for next dev?
Turbopack is a bundler for JavaScript applications, and it is built into Next.js. It should be significantly faster compared to the traditional Webpack. But for our tutorial, it makes no difference whether you use it or not.
- Would you like to customize the import alias (
@/*by default)?
Setting an import alias makes it easier to keep tract of things when importing external packages. let's keep this to default and we'll see how it works later.
Fill in all the questions and press Enter. The create-next-app CLI tool will set up the project exactly as you requested:

After the installation process, change into the new project directory, and start the development server.
bash
cd <project_name>bash
npm run devtext
> react-demo@0.1.0 dev
> next dev
⚠ Port 3000 is in use, trying 3001 instead.
▲ Next.js 15.0.3
- Local: http://localhost:3001
✓ Starting...
✓ Ready in 2.7s
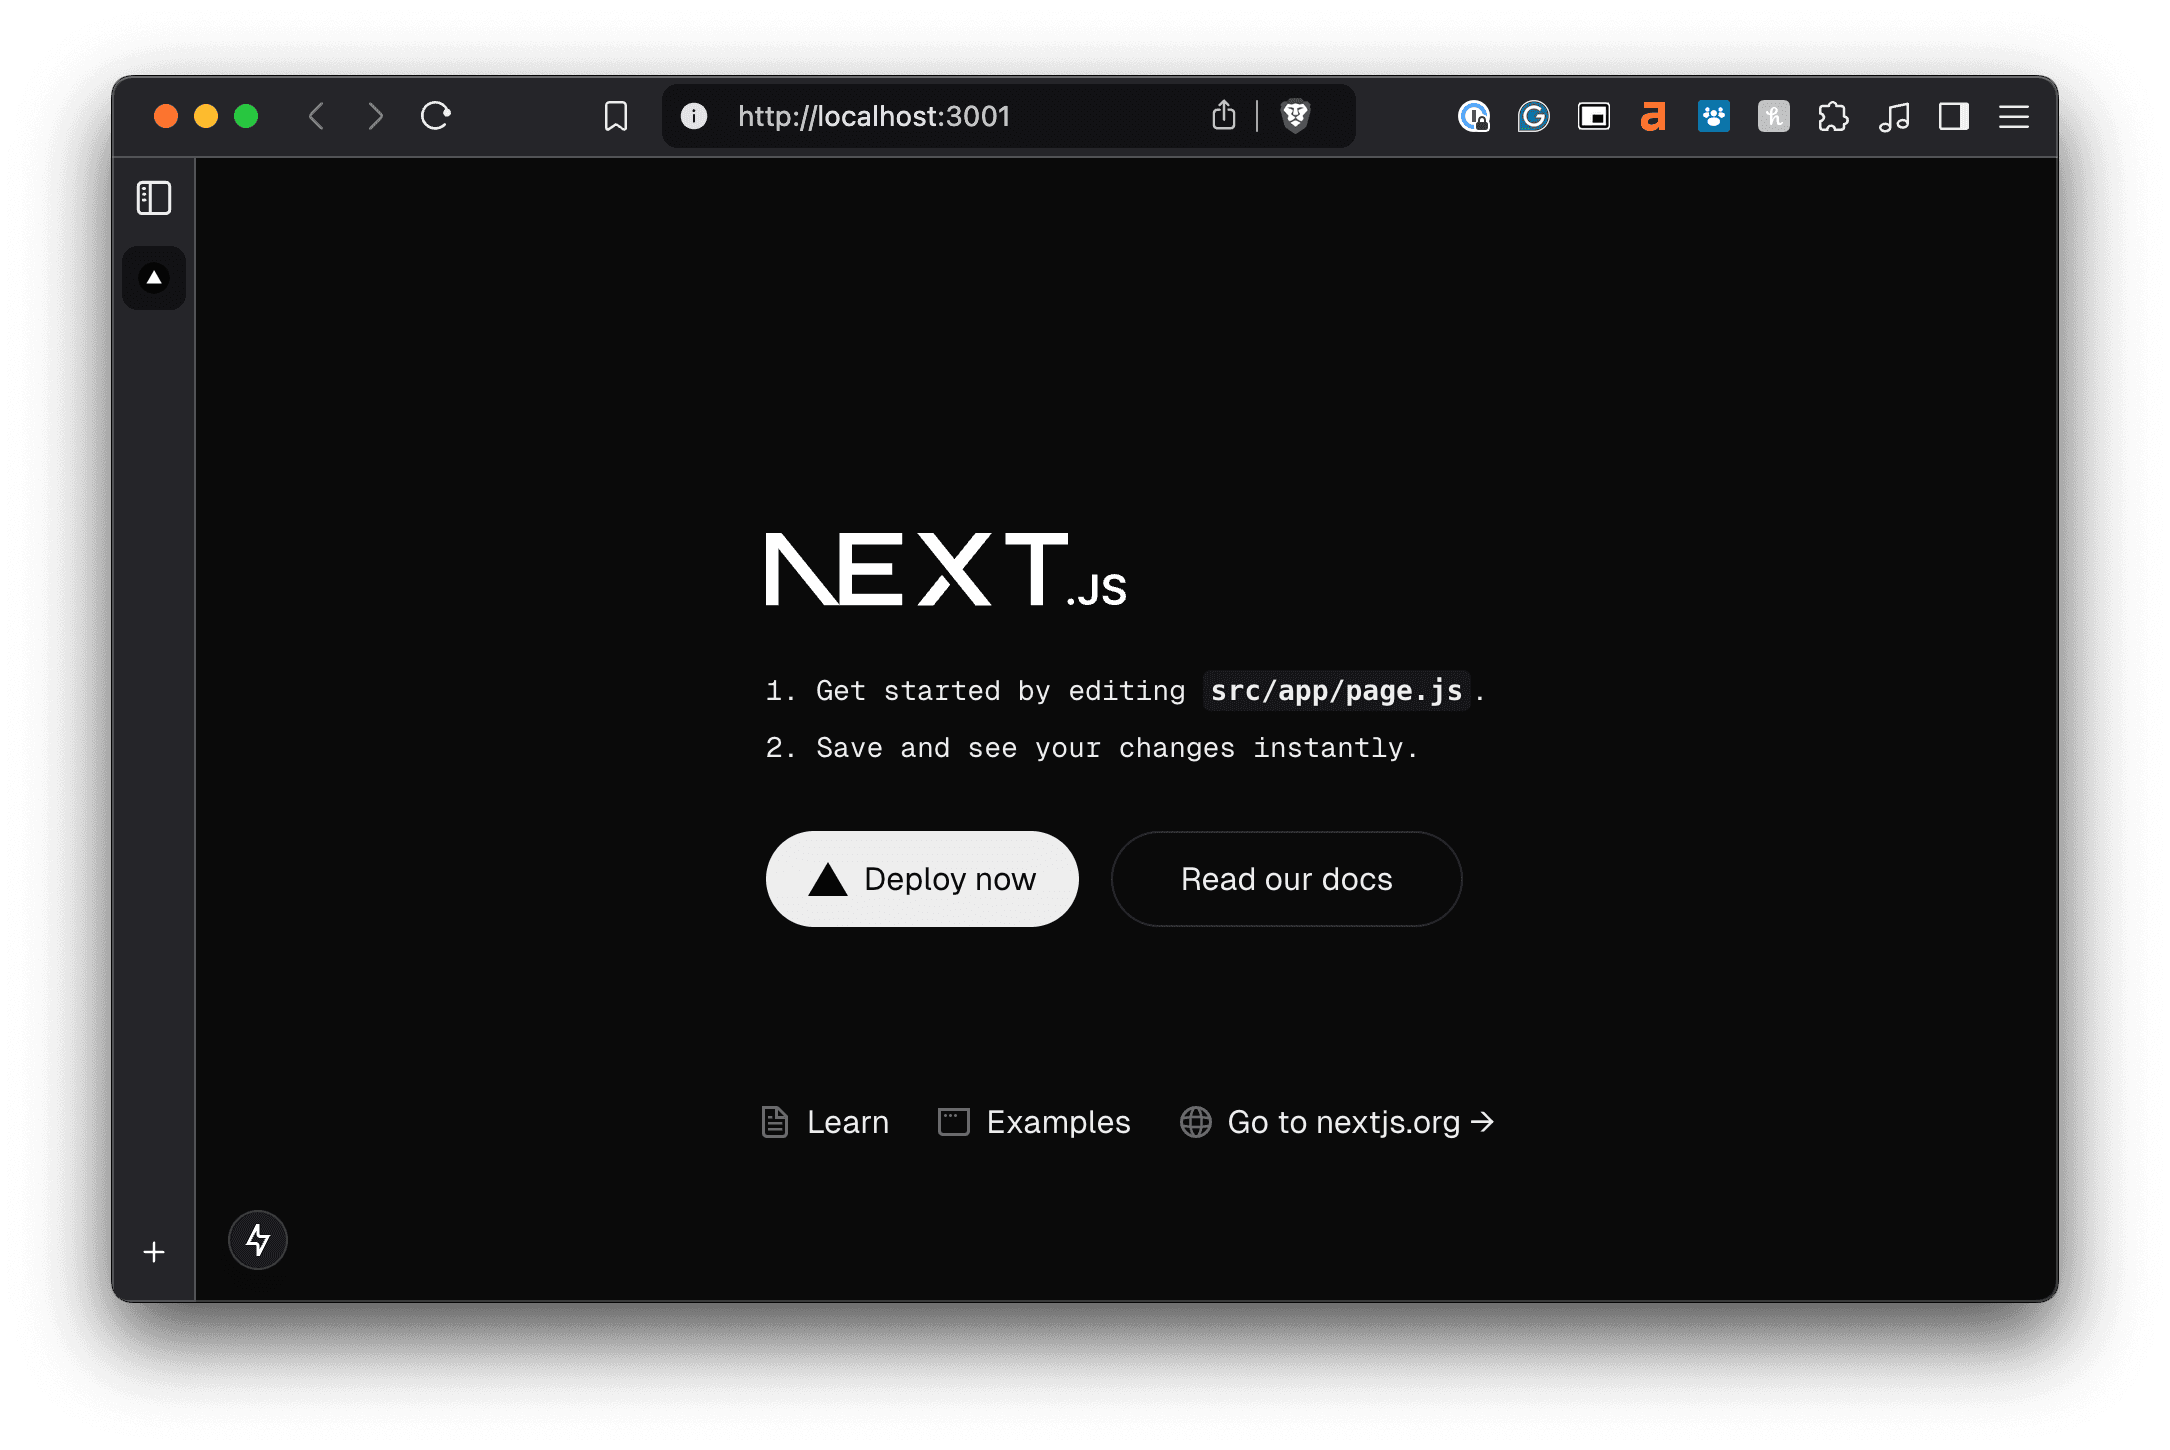
○ Compiling / ...Open your browser and go to http://localhost:3001, and you should see the following page show up.
Project structure
Now, let's take a closer look at what has been installed inside the project directory.
text
.
├── README.md
├── jsconfig.json
├── next.config.mjs
├── package-lock.json
├── package.json
├── postcss.config.mjs
├── public
│   ├── file.svg
│   ├── globe.svg
│   ├── next.svg
│   ├── vercel.svg
│   └── window.svg
├── src
│   └── app
│       ├── favicon.ico
│       ├── fonts
│       │   ├── GeistMonoVF.woff
│       │   └── GeistVF.woff
│       ├── globals.css
│       ├── layout.js
│       └── page.js
└── tailwind.config.js
You should see two root level directories, public and src. The public directory contains files that should be directly accessible to the user, such as the images, videos, user uploaded files, and so on.
The src directory contains the source code of the project, which means it is going to be the focus of this course. Since we've opted to use App router, there should be an app directory inside src. We'll look into it later.
As for the files at the root level, they are most configuration files. next.config.mjs is for Next.js, postcss.config.mjs is for PostCSS, and tailwind.config.js is for TailwindCSS.
For this tutorial, we are only concerned with next.config.mjs. There are a few optimization methods and experimental features that needs to be activated by editing the settings inside next.config.mjs. We'll discuss more about that later.
.js and .jsx are the same for Next.js
Before we dive into Next.js, let's fix one small "mistake". Open src/app/page.js and notice that this file has the extension .js, but it is using the JSX syntax.
src/app/page.js
jsx
import Image from "next/image";

export default function Home() {
  return (
    <div className="grid grid-rows-[20px_1fr_20px] items-center justify-items-center min-h-screen p-8 pb-20 gap-16 sm:p-20 font-[family-name:var(--font-geist-sans)]">
      . . .
    </div>
  );
}
We explicitly stated in the JSX lessons that .js and .jsx are two different things and should not be mixed up. You are supposed to use .jsx files to write JSX, so what is happening here?
This is not really a mistake. Next.js configures the JavaScript compiler to support JSX by default. If a .js file contains JSX, it will be interpreted as JSX. This default setting allows you to use JSX syntax inside .js files.
But, if you also have a bit of OCD like me, and has to keep everything neat and consistent, you can change page.js to page.jsx.
text
src
└── app
    ├── favicon.ico
    ├── fonts
    ├── globals.css
    ├── layout.js    <===== Change to layout.jsx (Optional)
    └── page.js      <===== Change to page.jsx (Optional)
You can do the same thing for layout.js.
In future lessons, we are going to stick to .jsx extension whenever JSX is involved, just to keep everything consistent.
What's included in this course
In this course on Next.js, we are going to cover: